
티스토리 뷰
1. FastAPI 설치
먼저 main.py라는 파이썬 파일을 만들어야 합니다.(main이라는 이름은 fastAPI에 붙이는 관용적인 이름이다. 달라도 큰 상관은 없음) 파일을 만들었다면 터미널 창을 이용해, fastapi를 다운받으세요 (아나콘다 가상환경에서 해도 됨)

error가 뜨지 않았다면 설치가 잘 된것입니다
2. 간단한 FastAPI 어플리케이션 생성/실행
놀랍게도 FastAPI는 Flask와 구조가 유사합니다.
다음은 기본적인 FastAPI 코드입니다.
그리고 코드를 실행시키는 명령어는 다음과 같습니다
이때 main은 파일의 이름으로, 자신의 파일 이름을 넣으면 실행 가능합니다.(현재 파일은 main.py)
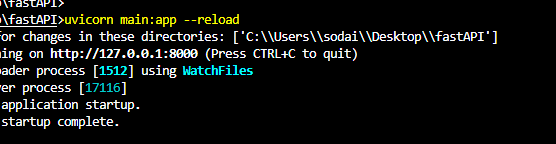
실행 후, 주소를 들어가 확인을 하면 다음과 같은 화면이 뜬다면 FastAPI서버 로드는 성공입니다.
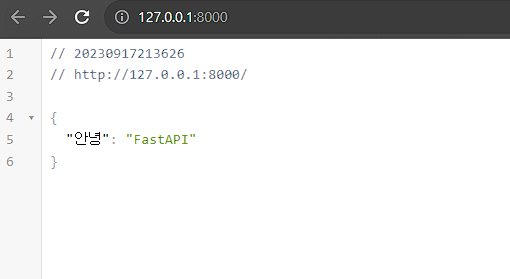
3. FastAPI로 데이터 전달
서버를 띄웠으면 이제 fastapi 서버와 html페이지가 기본적으로 데이터를 주고받는 과정에 대해 알아보겠습니다.
우리의 예제는 [ index.html 정보 입력 -> result.html 정보 전달 ]의 구조로 예제를 만들어 볼 것입니다.
이를 위해 우선 templates라는 폴더를 만들고 그 안에 index.html, result.html이라는 html 파일을 만들겠습니다.
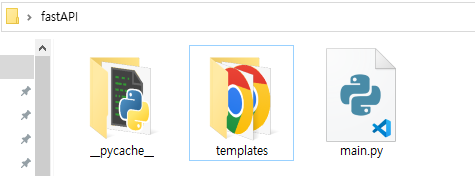
flask와 같이 html파일을 templates 폴더 안에 넣도록 합니다.
[코드 main.py]
[코드 index.html]
[코드 result.html]
4. 결과 확인
다시 터미널에 명령어를 입력해 실행하면 다음과 같은 화면이 나타난다.
[입력화면, index.html]
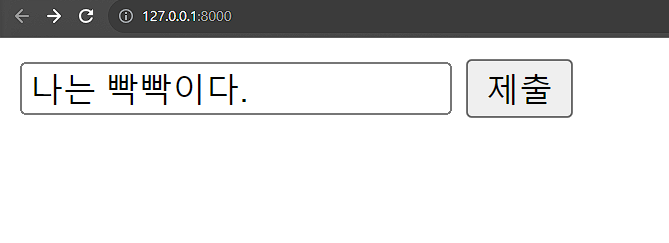
[출력화면, result.html]
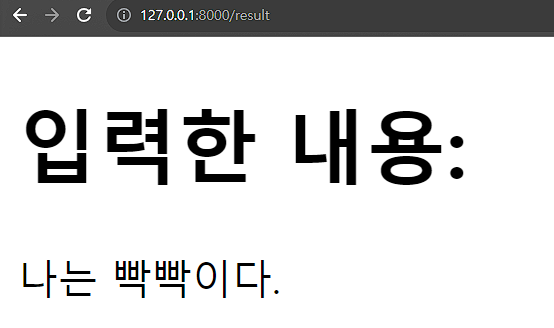
성공!!!!
'[실전] 파이썬 (Python)' 카테고리의 다른 글
| [pygame] 악마의 트리 피하기 게임 만들기 (1) | 2024.12.22 |
|---|---|
| 알아두면 편리한 파이썬 아나콘다 (Anaconda) 기본 명령어들 (0) | 2024.12.22 |
| [크롤링 기초] 웹 크롤링 방법 (requests, BeautifulSoup) (4) | 2024.12.22 |
| [selenium 기초] Selenium(셀레니윰) 기본 사용법 및 명령어 (1) | 2024.12.11 |
| [fastapi 심화] 파이썬FastApi & Firebase 커뮤니티 웹개발: 환경세팅 및 코드 (6) | 2024.12.04 |